*This post may contain affiliate links. This just means that if you buy something listed here, I make a little bit of beer (or dessert) money.
Hello again my faithful friends.
Today I finally decided to put together my tutorial on the DIY hanging feather boa balls that I referenced in my DIY Canvas Print Gallery post.
Anybody close to me who was involved in our wedding knows now that I love feathers! I bought a ton of them with every intention of making my own feather bouquets (it looked so easy…) but that turned out to be an epic fail. I ended up scrambling, as is typically standard for me, at the last minute to order new bouquets which I found on the CorvidaeCuriosity shop on Etsy and THANK GOODNESS I did! Here is a picture of what Corinna put together for me (at VERY the last minute) with feathers and dried, dyed flowers:

They were so different and I just looooved how they turned out!
I also incorporated some feathers by making these feather boa balls that hung off the corner chairs of the front two rows at the ceremony.
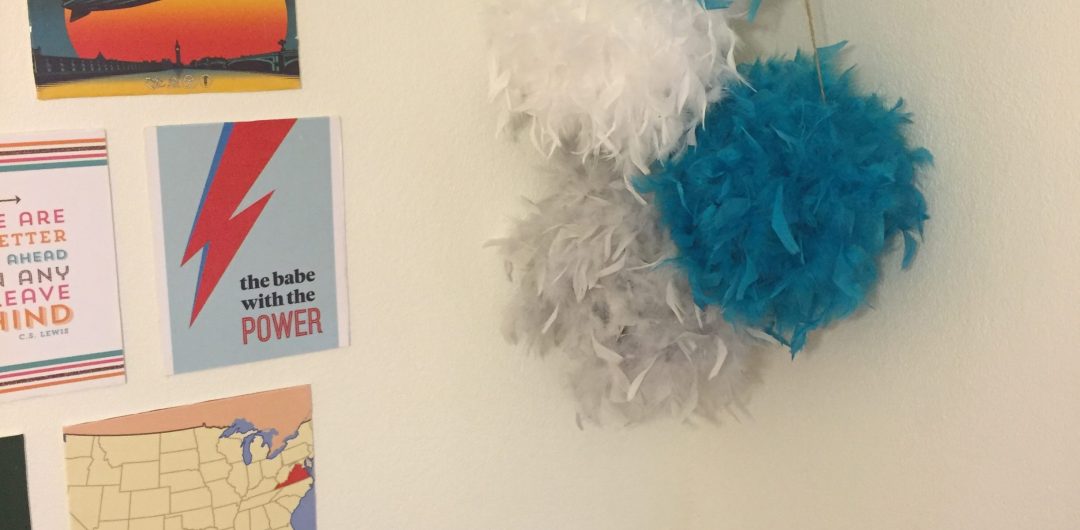
After the wedding, I let these babies sit in a bag in my pantry for a little over a year before I decided to reuse them. When I put together my office in the new house in Colorado, I kept envisioning them hanging in the corner from a ceiling hook for some added aesthetic appeal. The four I already had put together from the wedding were all the same blue color so I headed to Michael’s and picked up a couple extra boas to switch it up, one white and one light grey.
I also already had my hemp, pins and styrofoam balls from the craft store luckily so I could reuse them. There are a couple different types of “styrofoam”, and due to low supply at the store when I first bought mine, I ended up with both types. You can see here how the ball on the left is smoother than the one on the right.
I think the smoother one on the left, which is actually polystyrene, worked a little better because it is more sturdy than the rough, porous ones which tended to form bigger holes than I wanted from the pins being inserted. But they are holding up in the absence of any kind of breeze or stress.
Also leftover from the wedding were the pieces of twine where I had hot glued the ends of three separate strands together. You could do this to add some thickness and support, or twine is honestly strong enough to hold them up just fine with one strand, which is what I ended up doing this time around.
I was using pretty simple pearlized straight pins to pin both the feather boa and the twine into the styrofoam. So to start, I took the end of a boa and pinned it into the foam. Anywhere. It’s a nice globe so it doesn’t matter where you start.
Pay no attention to the lack of manicure. I’m well aware that it’s a rough situation…
Start wrapping the boa around the ball until you meet where that first pin is. Do not be afraid to use as many pins as necessary to keep this guy secure, just try to avoid pinning the feathers and try to stick to the rope in the center of the boa so the pins (and rope) stay hidden.
Keep stretching the boa over the ball, this time about an inch or two to the side of the first pin, and cross the boa over itself to continue wrapping around the ball. Keep pinning wherever necessary. You will do this one last time until you meet the end of the boa which should pin right into the last bare patch on the styrofoam. Don’t be afraid to go back and pin anything that is out of position or showing the foam! Ruffle the feathers, whatever you need to do to get it covered. This might take a couple tries the first time through — I know I needed practice!
Last you will pin the twine into the ball so it can be hung. Start with one end at any location (this is where you can cover up a small bald spot if you just can’t seem to hide it!) and pin the other end of your twine about five or so inches away. Pick it up by the string to test out the strength of the hanger and BOOM, your first ball is complete!
I know, I switched the color up on you…
For the wedding, I kept the length of my twine all the same so they’d be hanging at the same height. For my hanging corner decoration, I varied the length so they would be staggered coming down.
And there you have it. A simple decoration for nurseries, big kid offices, weddings/events, holiday accessories or just for people who plain old REALLY like feathers, like me. 🙂
Materials
- 1 6-inch (or size of your choice) polystyrene ball for each one you plan to make
- 1 feather boa (colors of your choice) for each ball you plan to make
- Package of straight pins
- Twine cut into lengths of your choosing
- Simple 1-1/4″ swag hook
- Hammer & nail (just to make the initial hole for the swag hook)
- Studfinder
Instructions
- Start by inserting your swag hook into the ceiling. Simple directions should come on the package as well, but first use your studfinder to find the stud in the corner of the ceiling. Make a small pencil mark designating the stud. Lightly hammer a small nail into this exact spot and carefully remove it. Now take your swag hook (actually 1-3/4″ including the screw thread) and using the pointed screw end, screw it into the hole you already made with the nail, pushing it upward as you continue rotating it until fully secure.
- Pin one end of a boa into the foam anywhere on the ball. Start wrapping the boa around the ball until you meet where that first pin is. Use as many pins as necessary to keep the boa secure, but keep it at a minimum while wrapping the boa, in case of necessary adjustments once you are done. Try to avoid pinning the feathers and try to stick to the rope in the center of the boa so the pins (and rope) stay hidden.
- Keep stretching the boa over the ball, this time about an inch or two to the side of the first pin, and cross the boa over itself to continue wrapping around the ball. Keep pinning wherever necessary. You will do this one last time until you meet the end of the boa which should pin right into the last bare patch on the styrofoam.
- Go back and add any additional pins to secure anything that is hanging off or showing the foam underneath. Ruffle feathers, adjust the boa, whatever you have to do to make it pretty.
- Pin one end of the twine securely into the foam for the hanger. Now pin the other end about 5 inches away, and you’re done!
Hope you guys enjoyed this one and please let me know if you plan to make any or have any questions! Hint hint to all my momma friends out there 😉


Well the bouquets were beautiful. I have a great pic of you with the originals that we TRIED to make–definitely a talent I lack.